
 I cut the card base at 5 1/4 on SU Barley Banana cardstock.
 I cut the Scallop square that layers on top of the card at 4 3/4 from SU designer paper. I wanted the scallop square to be a bit smaller than the top of the card.


 I took by little ink pad from PTI, and inked up the edges of the card base and the scalloped square. I even took the top of the small pad and rubbed it across the embossed dots and across the designer paper to give it an aged look.
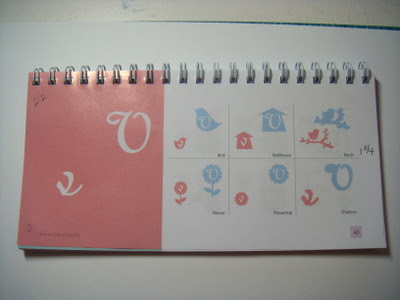
Next I took each of the bird on the branch cuts and trimmed them up to layer together. I cut the leaves and the bird off the brown cut, the bird and legs off the green cut and cut the entire bird off the blue cut. I then glued them down on the grey shadow cut.

I used some chalk to add some dimension to the branch, leaves and bird and added a little highlight with my white gel pen. For the little birds eye, I just adhered a very small black pearl from a pack of different sized pearl accents.
I used PTI Leaf Green satin ribbon and threaded it thru one of the scallop holes on the top and bottom of the layer.

I tied a bow with the ribbon....
I then added a button with twine tied thru and adhered to the bow with a glue dot. I then used dimensionals to adhere the scallop layer to the front the card, and also used dimensionals to add the bird on the branch to the scallop layer. I then stamped a sentiment from PTI's stamps.
I hope you enjoyed my first tutorial, please let me know so I can improve where needed.
Thanks for looking and have a wonderful day!
CindyB
Sweet card! Fabulous job on the tutorial!
ReplyDeleteGreat job!!! Very helpful.
ReplyDeleteOh I love it!! I may need this cartridge...
ReplyDeleteAwesome! That was perfect. Now I too need that cartridge.
ReplyDeleteJen
Great tutorial, and I absolutely love your card. Have a blessed day!!!
ReplyDeleteSo stinkin cute! I REALLY love this card. I want to make one, but I don't have this cart. Looks like I might be needing to make a new cut file!! :) Great job, thanks for sharing!
ReplyDelete